DIMEX
Traditional Office
Dimex™ Traditional Chair Mats
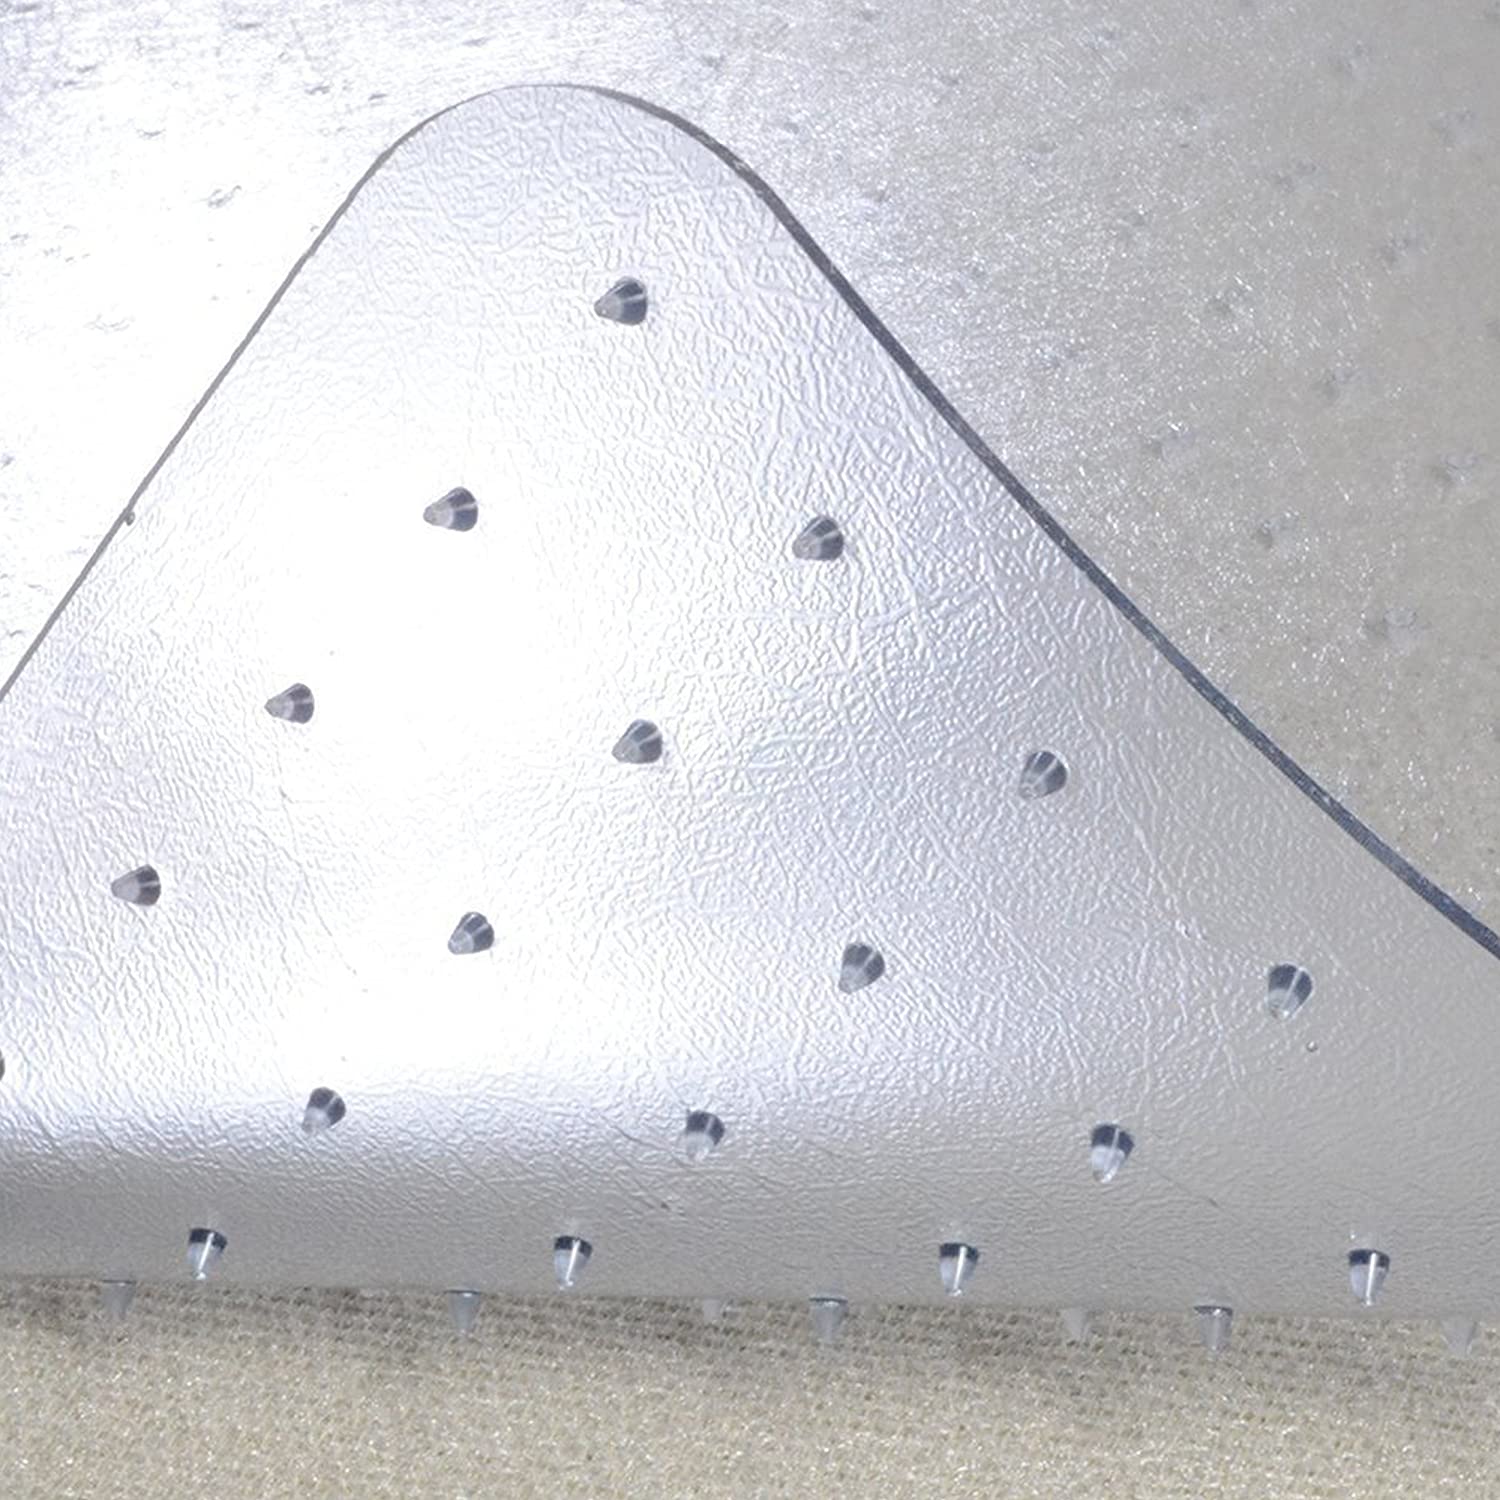
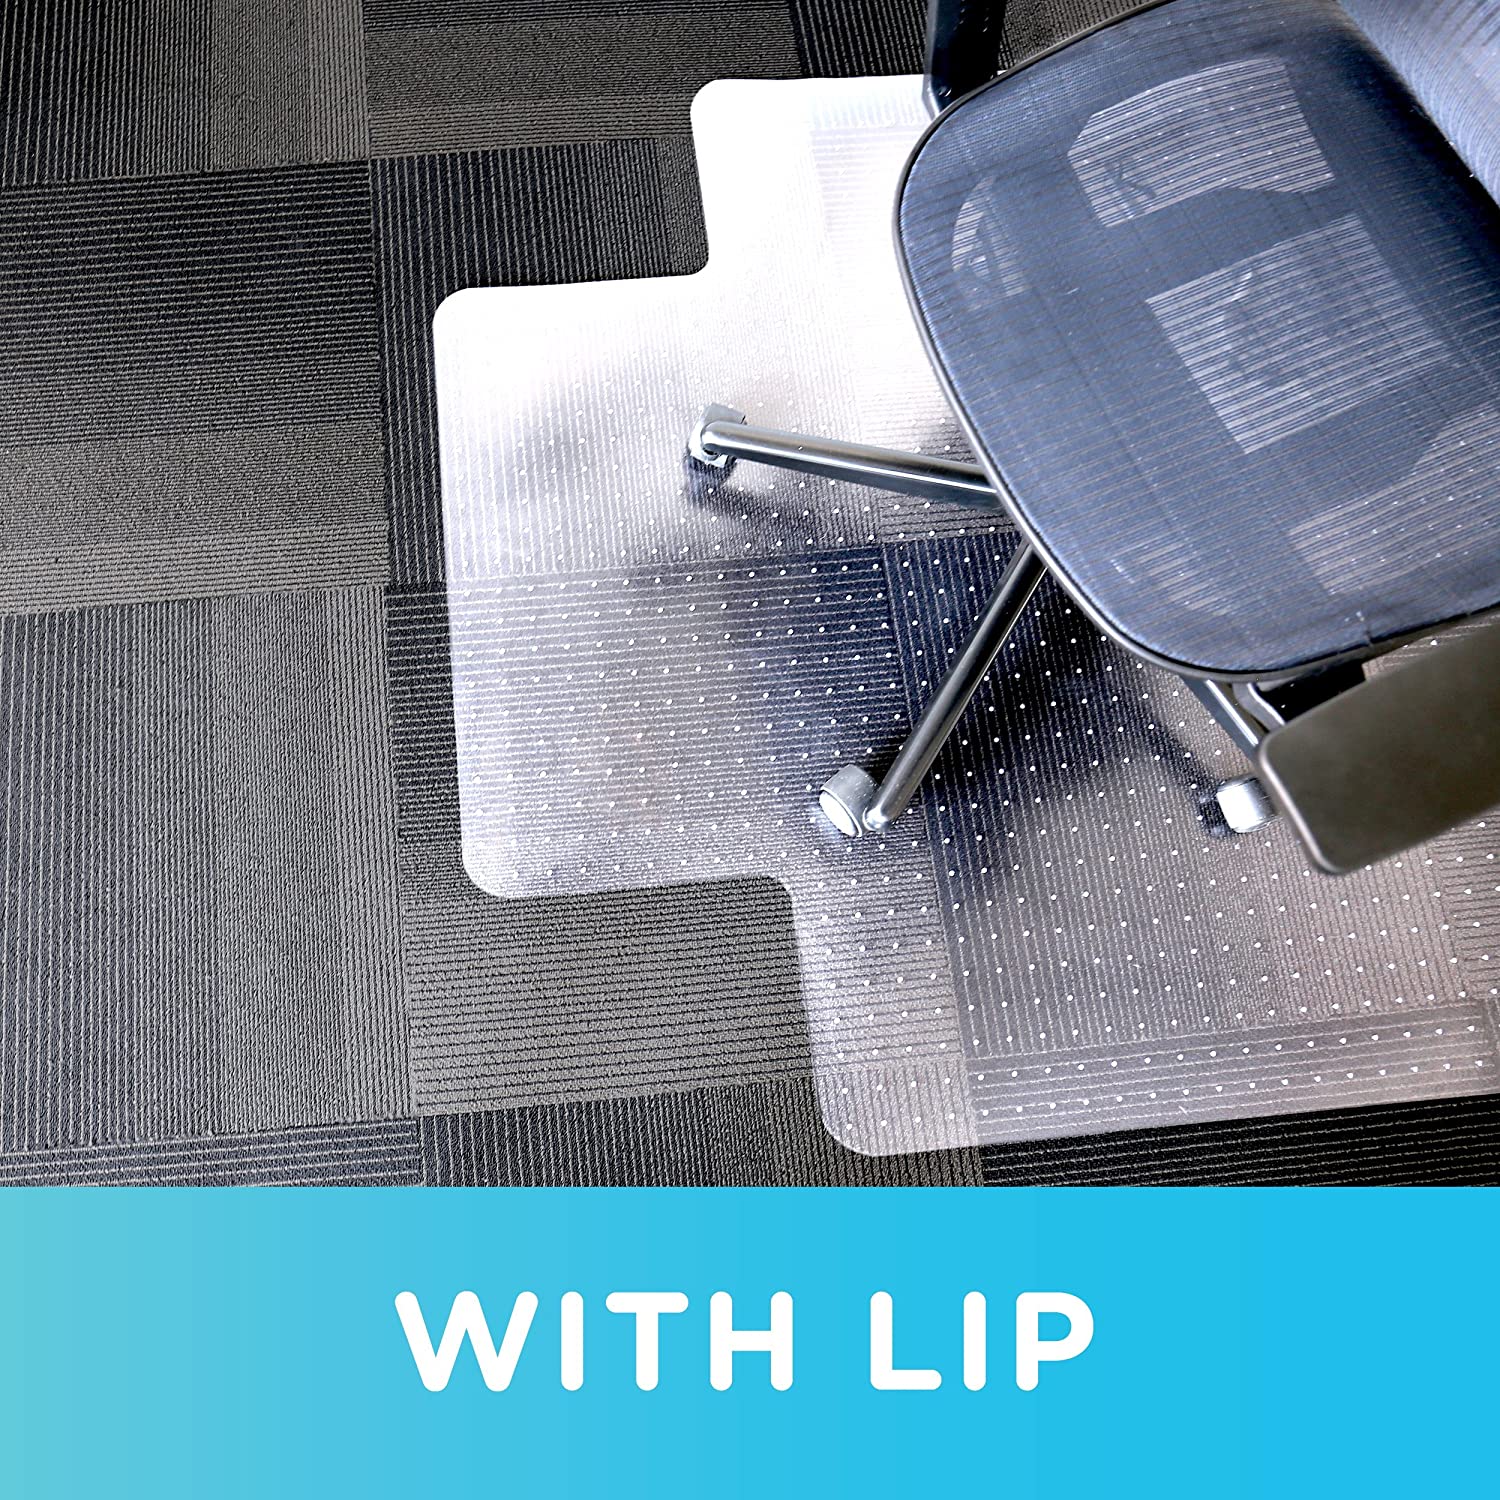
Dimex Chair Mats provide industry leading clarity, superior wear resistance and a surface that allows chairs to move freely. Replacing or repairing hardwood and laminate floors can be expensive! Protect your investment with a durable Dimex Chair Mat that is engineered to protect your floor from wear due to the wheels of your office chair rolling back and forth over time. Our proprietary material formula features industry-leading performance and clarity, a product of our rigorous roller wear, extreme temperature change, humidity, and stain resistance testing.
Traditional Office Chair Mat Details:
- Gripper Backing Options for Low and Medium Pile Carpets
- Smooth Backing Option for Hard Floors
- Wear Tested for Durability and Resistance to Cracking
- Greenguard Certified by UL for Low Indoor Air Emissions
- Phthalate-Free, BPA-Free and Odorless
- Manufactured in the USA
Choose the Right Mat for Your Floor
Is your floor carpet or hard surface?
Chair mats for carpet are designed with a “gripper” backing that holds the mat in place. Hard floor mats are smooth or lightly textured on the underside to avoid damage to hard floor surfaces. Never use a “gripper” backed mat directly on hard floors or on an area rug over a hard floor surface.
What is your carpet pile depth?
Understanding your carpet pile depth is critically important to the performance of your chair mat. To determine the thickness of your carpet pile, place a penny on it’s edge down in the carpet pile (like measuring a tire tread). Example: If Lincoln’s chin is above the carpet pile, your carpet is 1/4″ or less.
Available Options:
PRODUCT INFORMATION
| Item Weight | x – x |
| Product Dimensions | |
| Color | Clear |
| Material | Plastic |
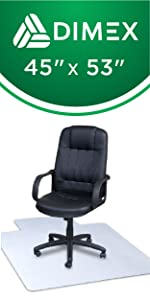
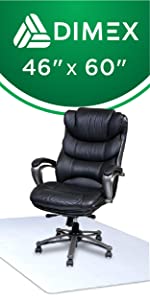
| Shape | With Lip, or Rectangle |
| Usage | Indoor |
| Included Components | 1 Mat |
| Warranty Description | 1 Year Limited – is this correct? |
FAQ
Q: How to correct edging that becomes wavy and disfigured after installation?
A: Weather changes will force the ground to shift throughout the year, specifically in periods of freeze and thaw. As a result, the edging may shift as well because it is above ground. We suggest hammering the spikes back into the ground as a part of a seasonal landscape maintenance routine. In most cases, this will correct weather-related edging movement. A heavy-duty No-Dig may perform better in zones that experience severe seasonal climate change. Alternatively, if you prefer a little-to-no-maintenance edging solution, we suggest using an edging that is installed sub-grade, such as aluminum or dig-in edging.
Q: What to do if pikes are pulling out of the ground?
A: Seasonal maintenance might be required.
• Take the product out of the box and lay it along the shape of your installation. Allow it to heat in the sun to become more flexible. When installing the edging, anchor the first tab and pull it as taught as possible while shaping it around your installation. Make sure the edging is pulled tightly between anchoring points.
• Hammer the anchoring spikes into the ground at an angle to resist freeze/thaw movement.
• Be sure not to anchor the edging too often. This can restrict the ability of the edging to expand and contract and can cause waves.
• When edging is installed and anchored into the ground, immediately cover the tabs with soil and the selected ground cover (mulch, stone, etc.). This acts as a secondary anchoring point and can help to deflect some of the heat that may cause waviness.
• Although this product is No-Dig, it will require seasonal maintenance. Weather changes will force the ground to shift throughout the year, specifically in periods of freeze and thaw. As a result, the edging may shift as well because it is above ground. We suggest hammering the spikes back into the ground as a part of a seasonal landscape maintenance routine. In most cases, this will correct weather-related edging movement. A heavy-duty No-Dig may perform better in zones that experience severe seasonal climate change. Alternatively, if you prefer a little-to-no-maintenance edging solution, we suggest using an edging that is installed sub-grade, such as aluminum or dig-in edging.
As with any plastic edging, heat and fluctuating temperatures can impact an installation. Taking the measures above can help to minimize the effects of an unavoidable factor.
Q: What is the difference between EasyFlex, ProFlex, Vigoro, and EdgePro?
A: EasyFlex & ProFlex are the consumer-grade edgings. There may be details of these products that are slightly different (ie: tab design, wall height, etc.) depending upon the product and retailer. These features will/should not impact functionality. The landscape edgings under these brands are most frequently the No-Dig style with the tab which requires little ground preparation, although there are a few dig-in styles.
EdgePro is the line of commercial/professional-grade edgings. These are heavier-duty products used and sold in commercial locations, such as regional landscapers, garden supply centers, professional distributors, etc. We offer a variety of dig-in edgings in this product line, in addition to paver edgings and tree care items. There may be a few EdgePro items listed in select retailers, but typically these are not sold direct to consumer.
Q: Can I mow over the edging or use a weedwhacker with it?
A: Many gardeners have used the edging along their mowing paths. We do want to caution that, as with any plastic edging, if exposed repeatedly, the edging will eventually incur damage from sharp blades. If the edging is installed below the blade height, it should be fine.
WARRANTY INFORMATION
EASY TO USE ON –
Low Pile Flooring


Dimex Home & Office Brands


